Hello everyone!
This breakdown is on an entry I did for a challenge on @HarryAlisavakis’s Technically Speaking discord.
The theme of the challenge was Dunes.
I accomplished this using Blender and the Blender Cycles renderer plus Shader Editor. I’ll break down the components of the overall node graph primarily using screenshots of what each step looks like to show how it all adds up.
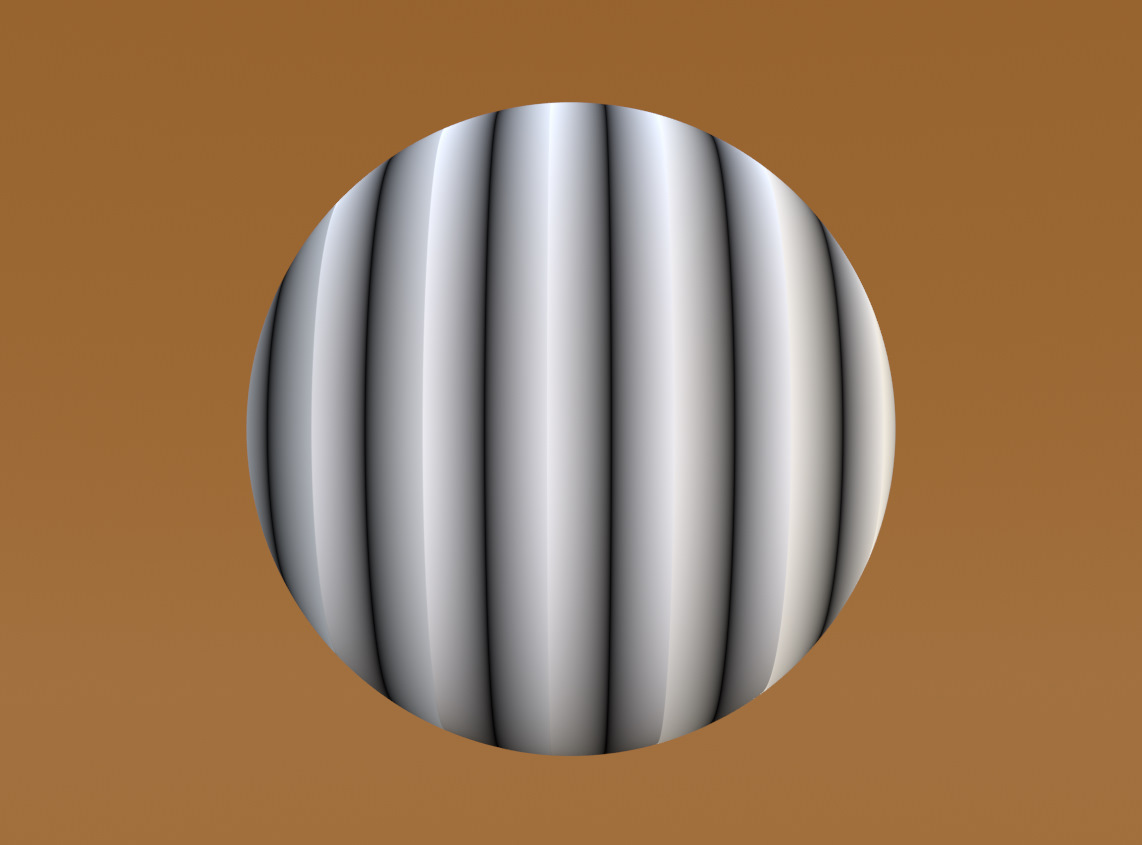
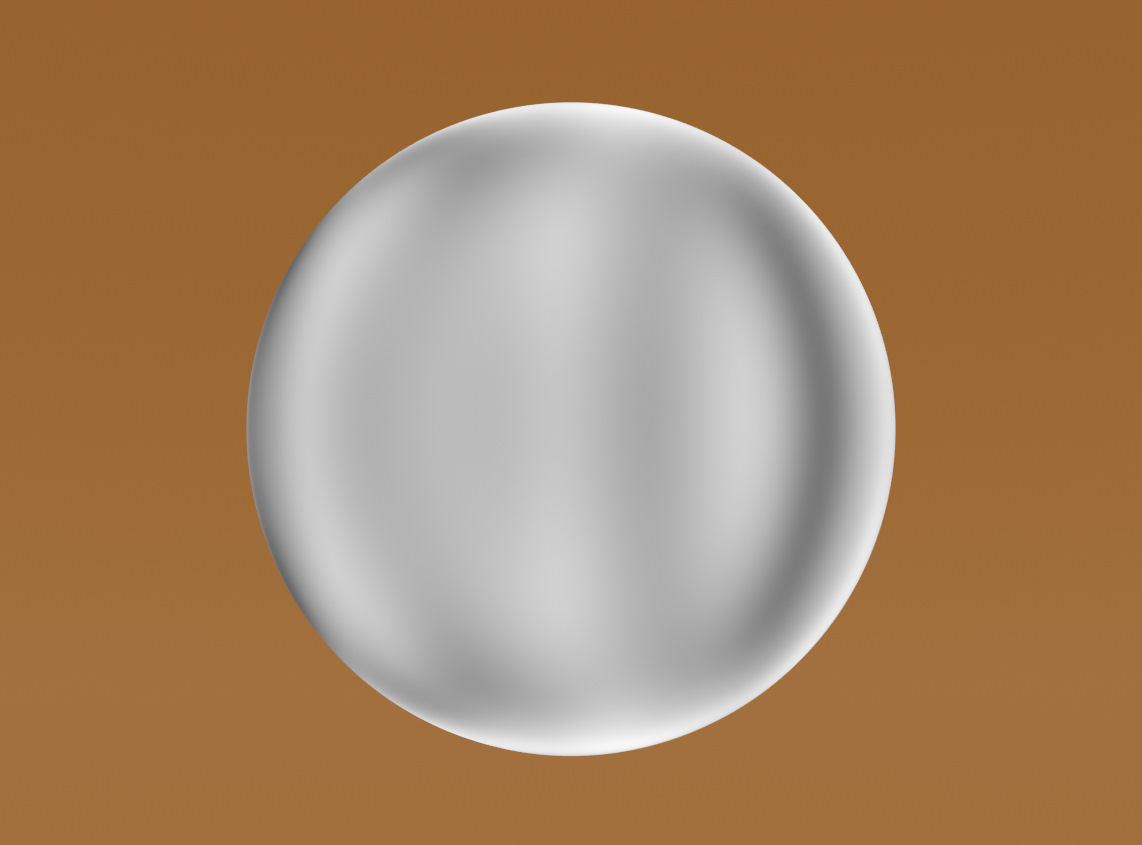
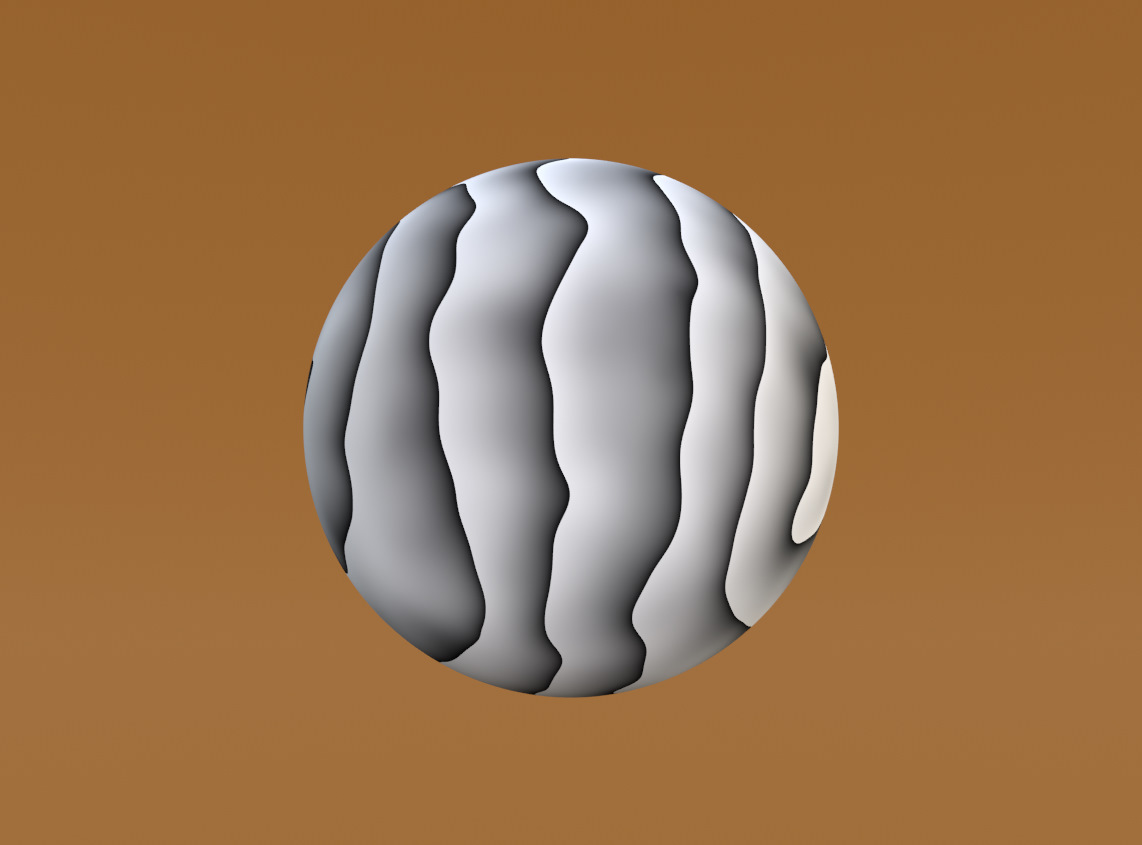
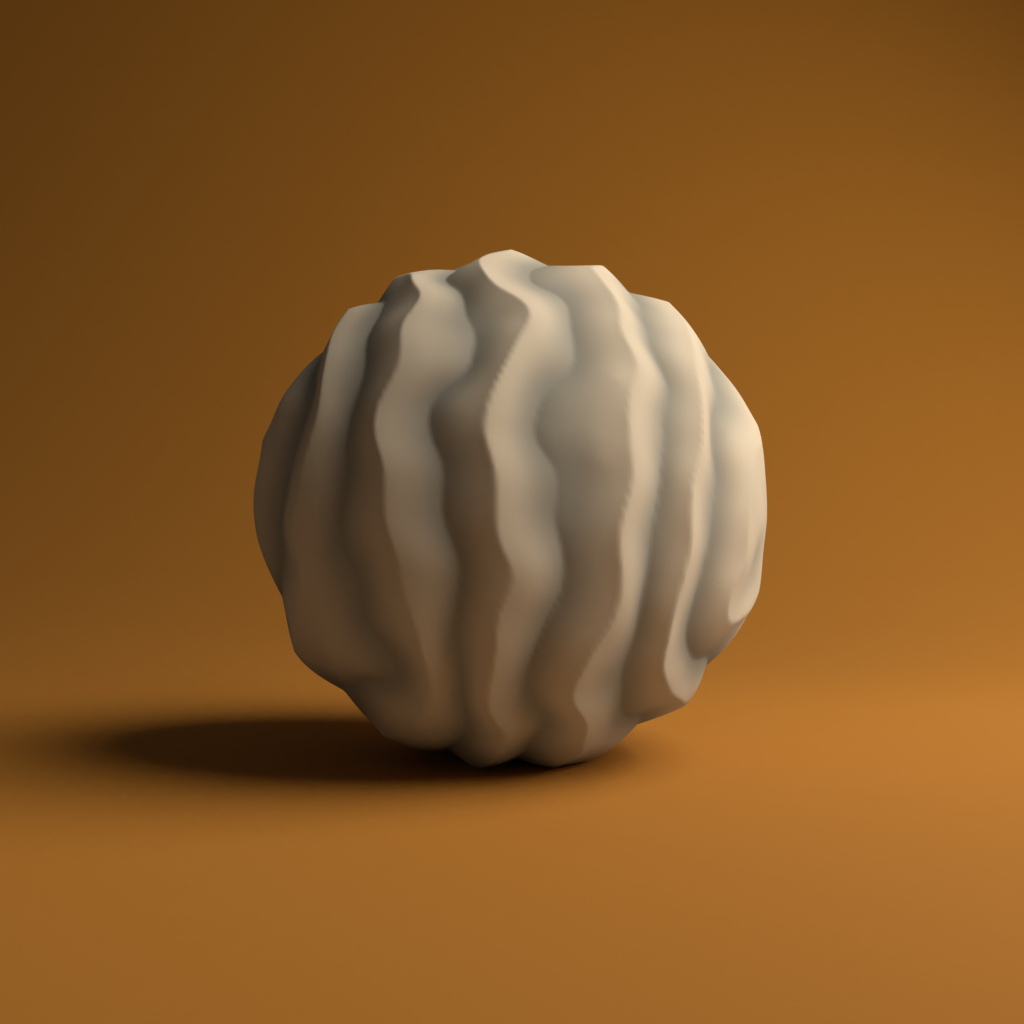 Render of the final material.
TIP: Click on image to see it enlarged in a snazzy gallery view 👀
Displacement and Subdivision!
To set up our scene, we will need a few things in it to allow our nodes to shine.
First we need to add a UV Sphere. Set the location and size to what you like.

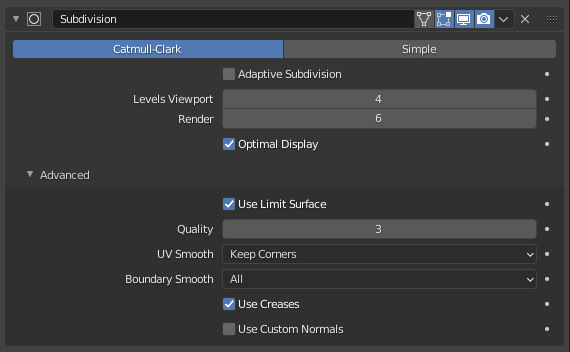
In the Modifier Properties of your sphere, add a Subdivision Modifier. Set the levels to a value your computer can handle, but the higher the subdivisions, the higher the resolution of the displacement will be.
Here’s the settings on my Subdivision Modifier.
Next, open a Shader Editor and make sure your sphere is selected or the at least the material on the sphere, selected from the material dropdown list.
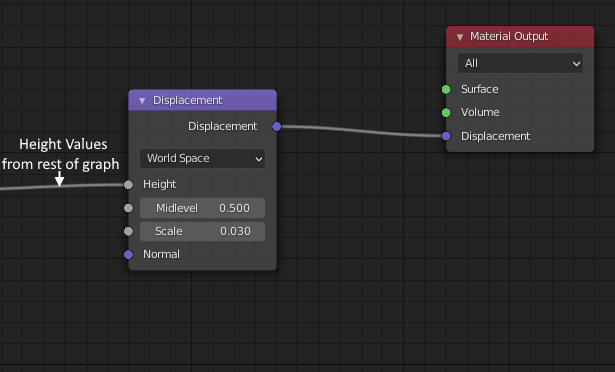
We’re going to set up our basic node graph with a Displacement Node and hook that into the Material Output. Also, set the Space of the input height to World Space.
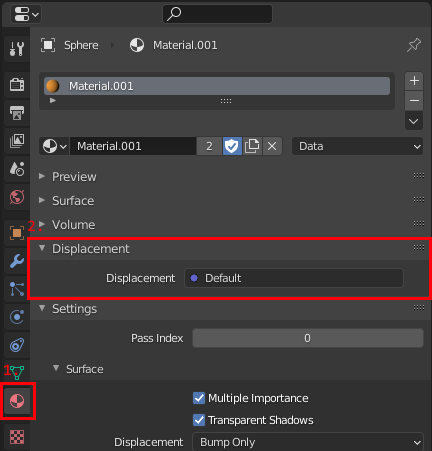
Another setting we’ll need is in the 1. Material Properties tab while the sphere is selected. Open the 2. Displacement drop down, and select Displacement.
If you set the viewport to Rendered while in Cycles, you’ll be able to preview the Displacement. But not actually because we haven’t connected anything to the Height of our Displacement node.

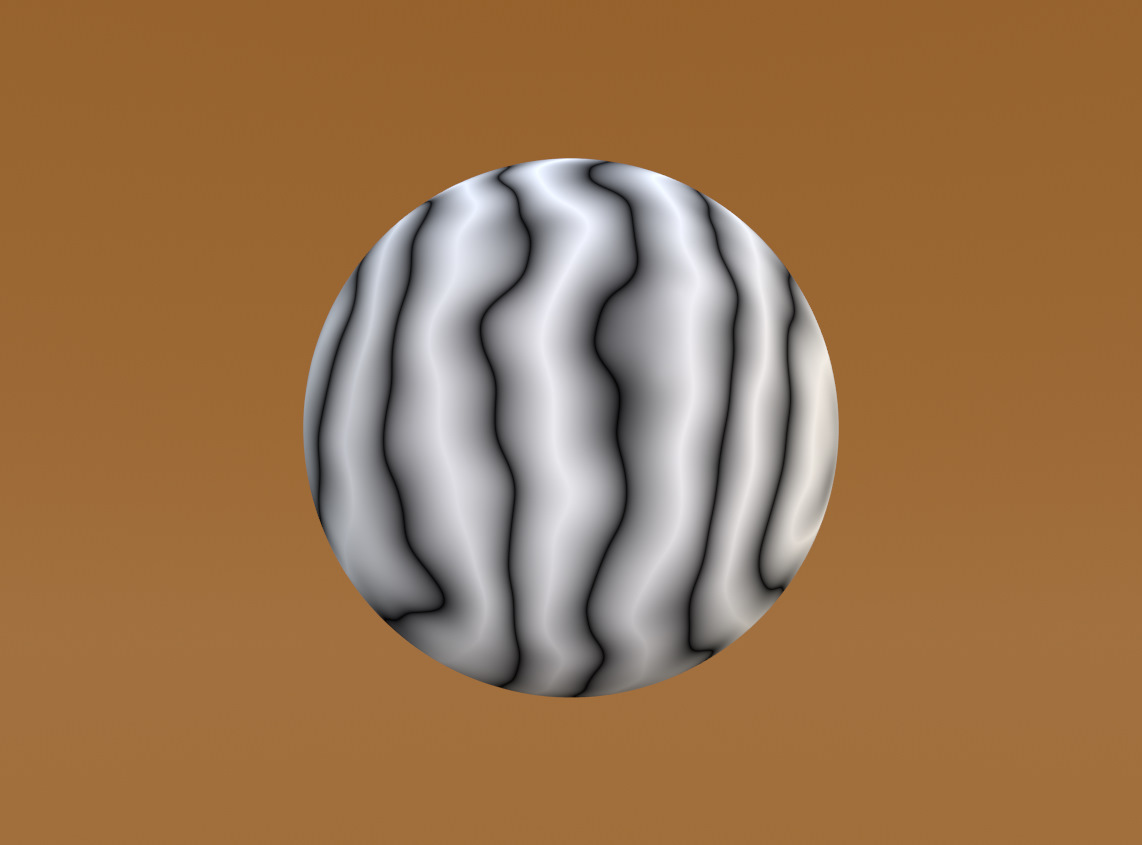
A Tale of Two Wave Texture Nodes
A wave texture node set to triangle provides the bulk of the shape for the dunes.
The second wave texture node is set to saw to provide a sharper shape at the peaks of the dunes.
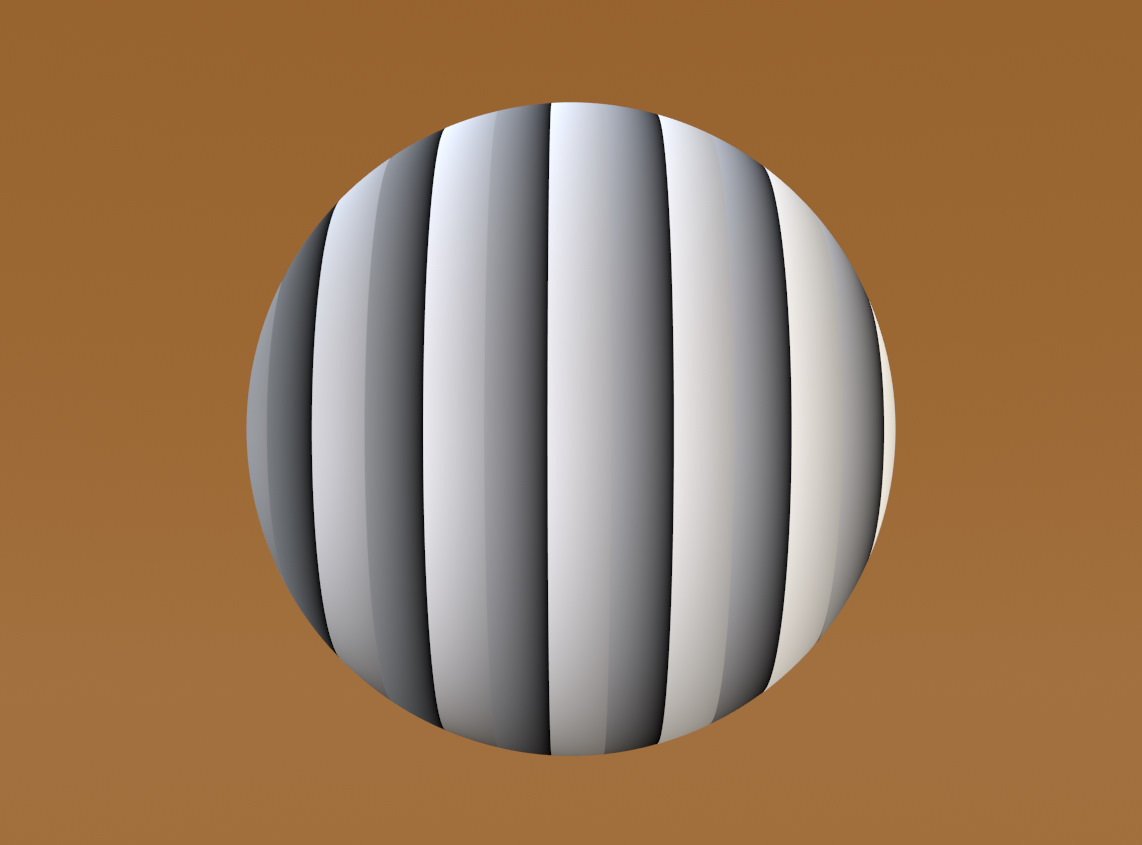
Then we mix them together to combine the values.

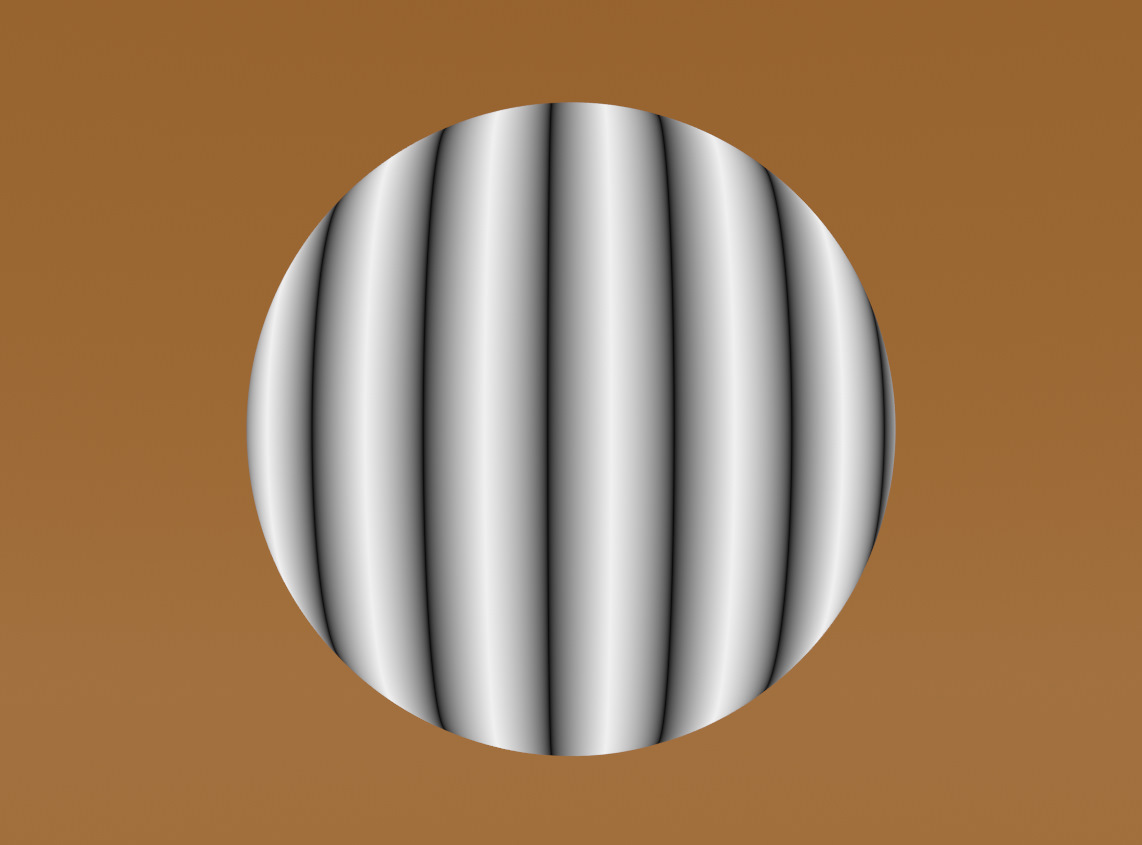
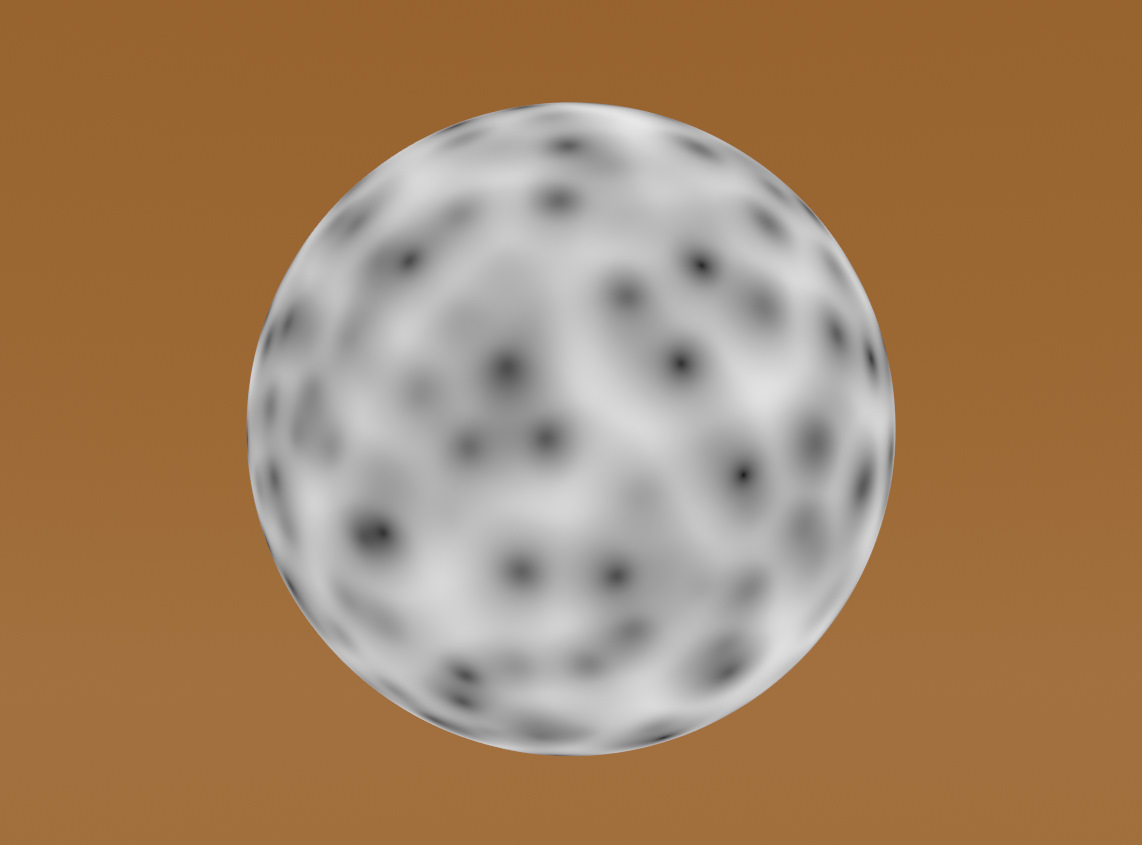
Make Some Noise
These uniform dunes are boring as straight lines. Let’s make some noise and add it to the distortion input of the both the Wave Texture nodes.
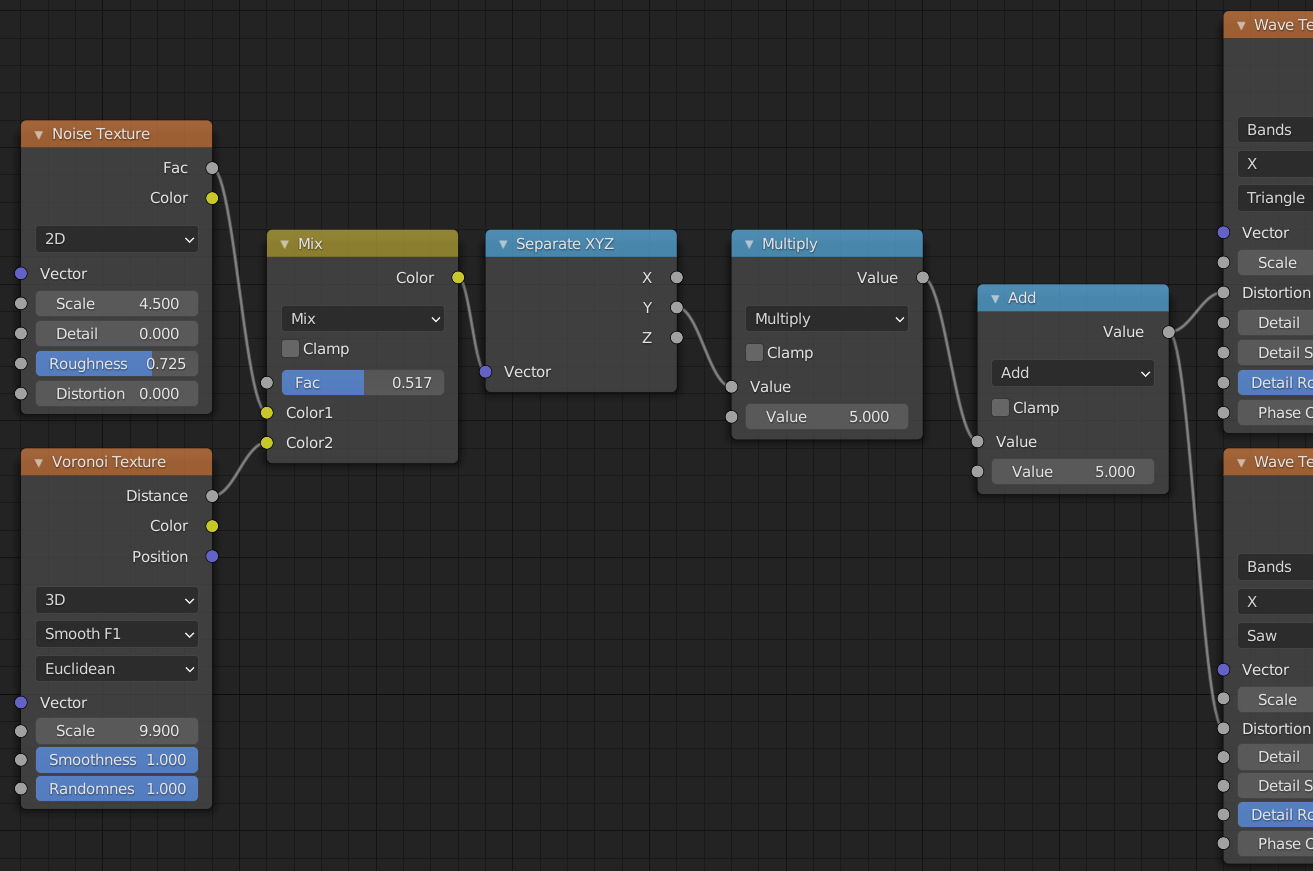
We are going to be only using a single component from these multi dimensional noise, but I’ll show you the full dimensions of the noise to better illustrate what it looks like on the sphere.
The Voronoi noise provides the broader shapes while the Perlin noise gives us smaller secondary details.
Plugging this mixture of noise into the distortion of the wave texture will shift the wave. A white value will shift the wave one direction and a black value another. I scaled this noise by 5 which seemed to me like a good looking amount of distortion.
Now we have some more interesting shapes.
Make It Sand
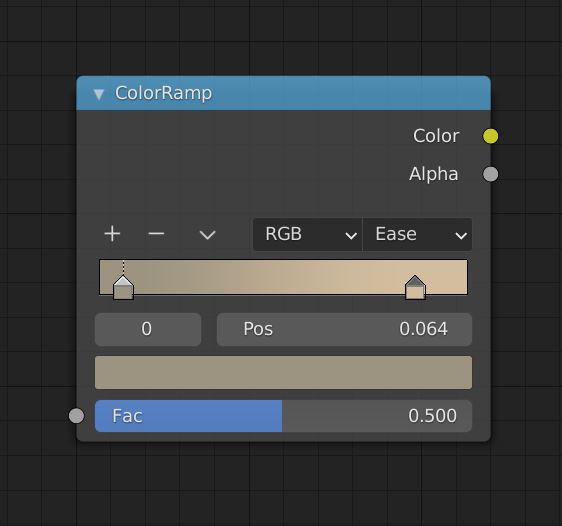
For the last step, I ran the the mixed together wave textures through a Color Ramp node.
This maps the black to a dark brown and the white to a light sand color, taken from a reference image.
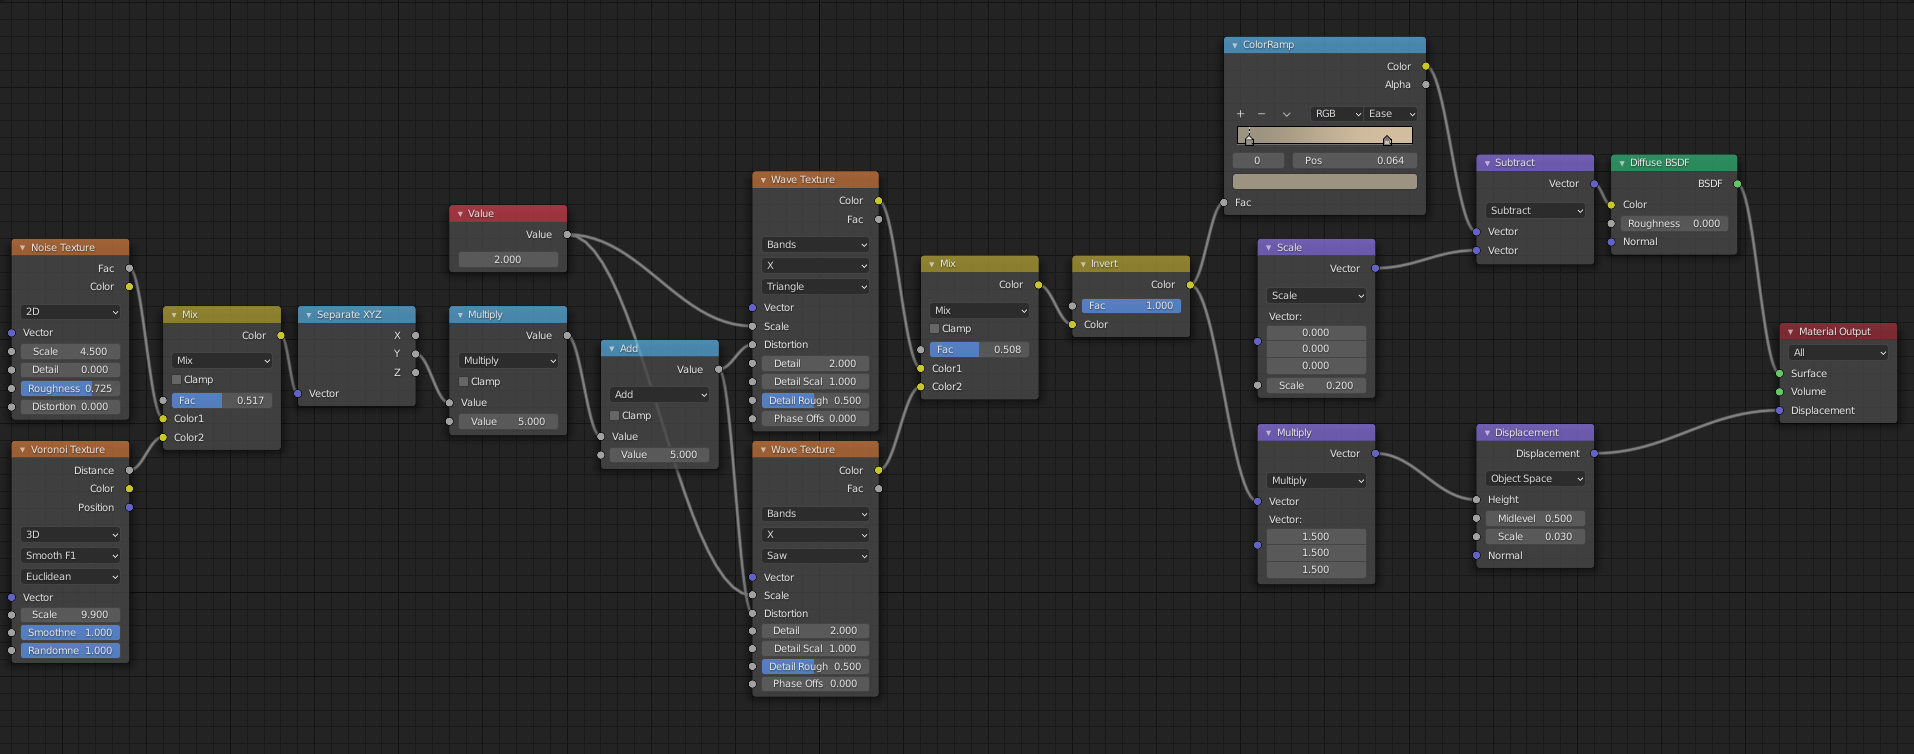
Send Nodes
At last here is the full graph of nodes.
Outro
Thank you for reading!
If you have any questions, do ask! Find me at @MitchJMcClellan
Catch you next time.