Intro
On the indie game Project Jellham (working title), I was tasked with creating the VFX for the main player attack, which launches a gooey projectile hurling towards enemies. I have been doing 2D animation as a hobby so I wanted to incorporate those skills with my current technical art / VFX skill sets.
Problem
The major challenge I encountered when designing the effect is matching the toony style of the game with a projectile that can be fired in any direction. How do I color my animation with a base color, highlights and a shadow to account for that? Painting in a shadow into the animation would not work because it would clash with the direction of shadow on the other art in the game.
Solution
I came to the conclusion that I could generate a normal map and make a custom shader, and that would solve most of my problems. I don’t like how most 2D games that use normal mapped lighting look, so I came up with the brilliant idea to use two step toon shading lighting instead.
 Dynamic lighting in 2D using normal maps. Photo: Happy Harvest demo via Unity.
The steps I took to achieve this look went like this:
- Animated central part of the projectile frame by frame
- Exported a flipbook texture from the animation software
- Imported the texture into Unity
- Created a particle system to be spawned by the player code
- Generated a normal map and a packed texture using Substance Designer graph
- Wrote a shader to calculate 2D toon lighting from a preset direction
- Added additional particle effects to polish up the overall effect
Reasoning
I wanted to share what I did because I don’t think I’ve seen anyone else do something like this. I’ll skip the animating and setup in Unity to get straight to the cool technical stuff. Anyway, let’s get into it.
Diving into Substance Designer
The first step I’ll be going through with you is walking through the two Substance Designer graphs I used to generate a normal map and channel packed color texture from the flipbook that I animated.
The Normal Map
In order to get lighting, we’re going to need to generate a normal map to fake a 3D form.
This particular graph worked well for my shapes because they are very round. You might have to experiment with creating different gradients to see what works best for yours.
Here’s the full normal texture generating graph.
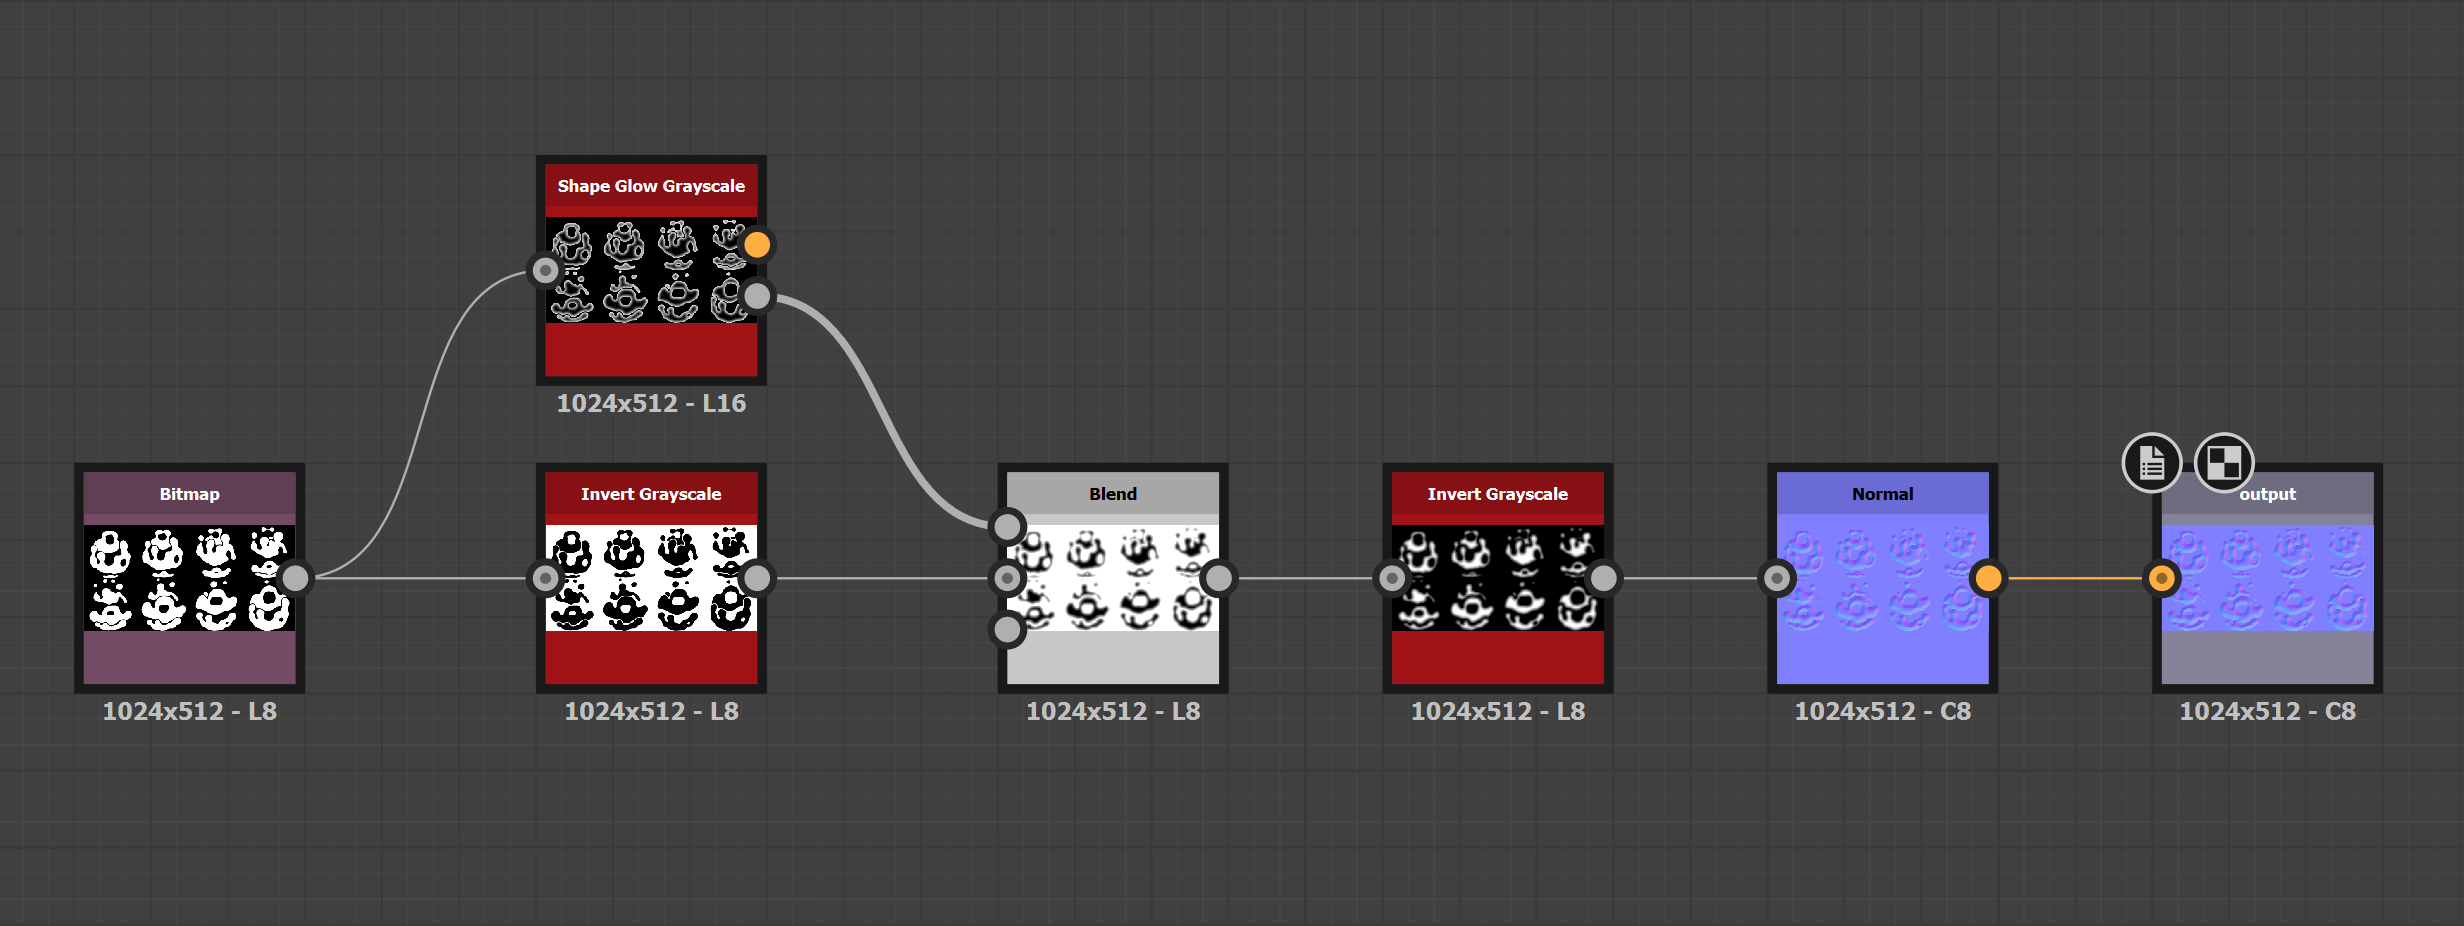
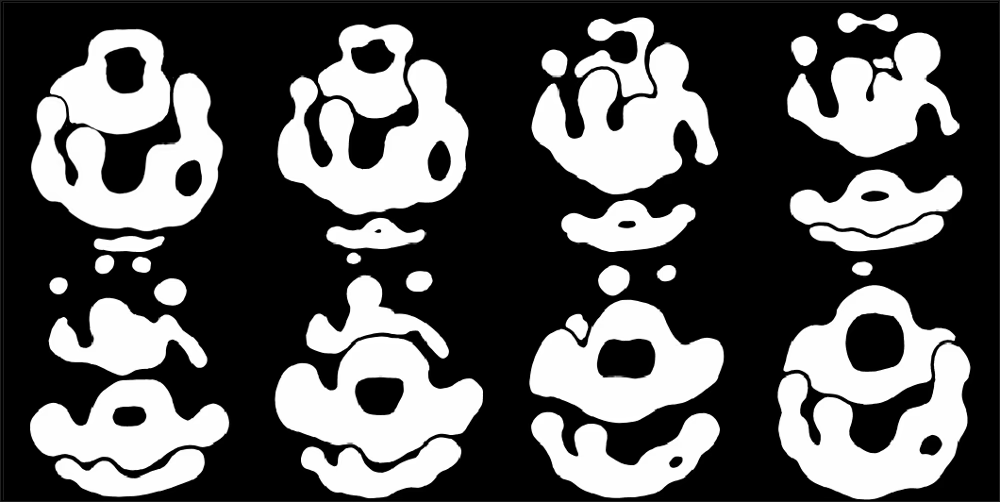
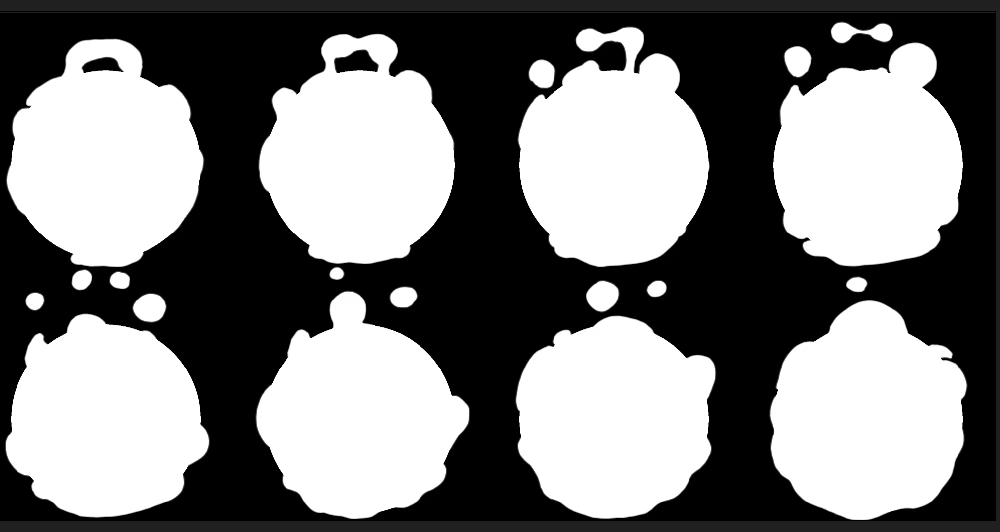
It takes a bitmap of the flipbook like this.
It generates a gradient that fakes the shape of the object using the Shape Glow node.

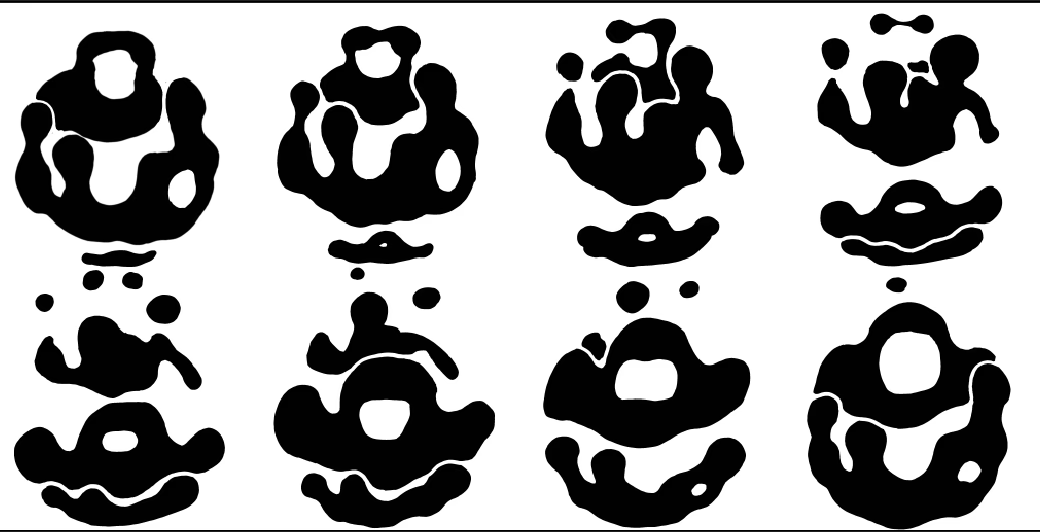
It also inverts the original bitmap using the Invert node so we can use it as a mask.
It blends the glow and the mask together with the Multiply blend mode of the Blend node.
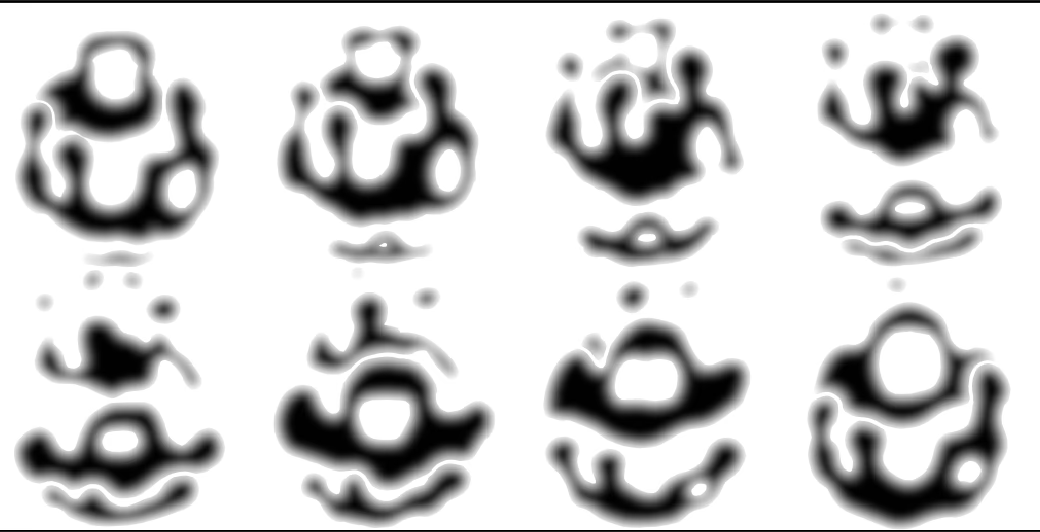
It then inverts the blend using the Invert node so we get a height map of the flipbook.

Finally, it runs the height map through Normal node.
The 2D Outline Packed Texture
The flipbook really only contains the moving gooey parts of the projectile. To give it more form, I needed a base circle to layer underneath.
To match the style of the rest of the game, I also needed to make an outline that would go around the entire animation.
To avoid creating more textures I would have to access individually in the shader, I packed each of these into separate color channels of one texture. This will cut down the number of texture reads in the shader.
Here’s the full outline making and base shape packed texture graph.
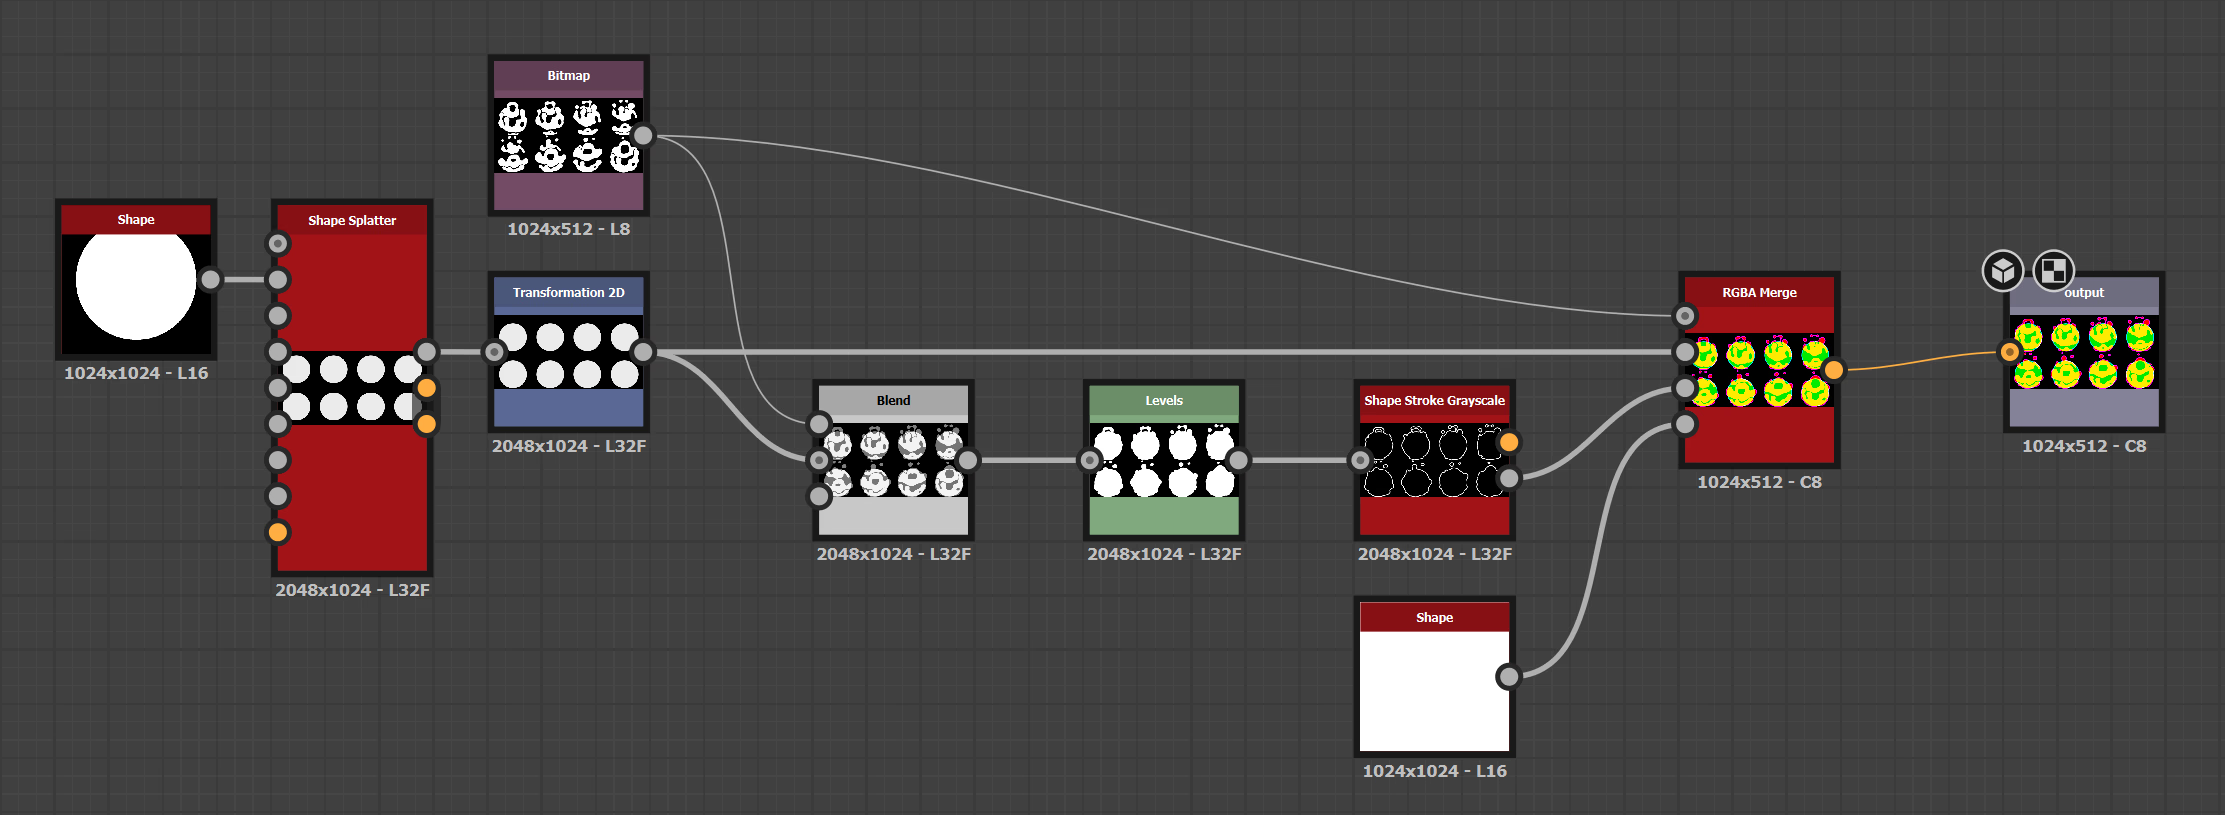
It uses a Shape and a Shape Splatter node to place eight circles to match the original flipbook.
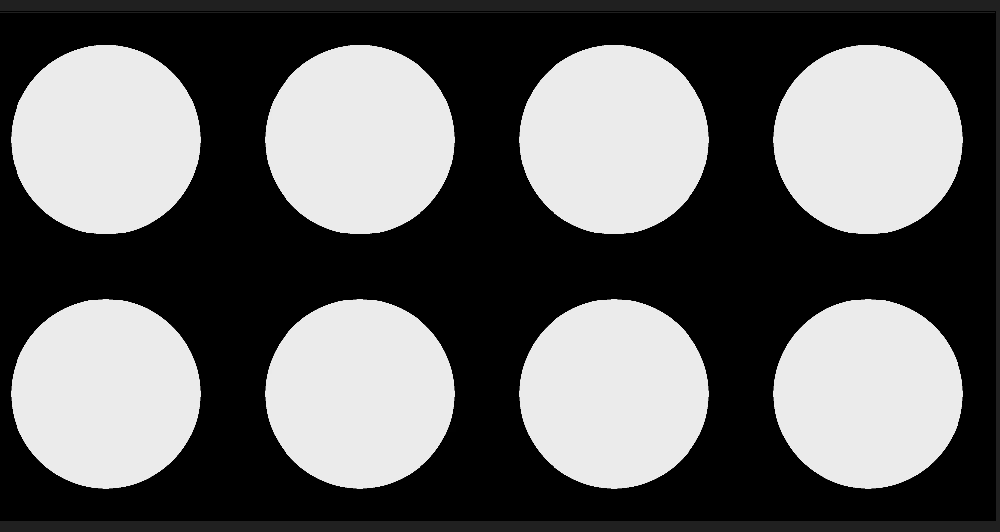
It uses a 2D Transformation node to align the shapes with the flipbook.
![]()
The original flipbook used later as an input for the outlines.
It blends the flipbook and the circle shapes using the Copy Blend mode of the Blend node.
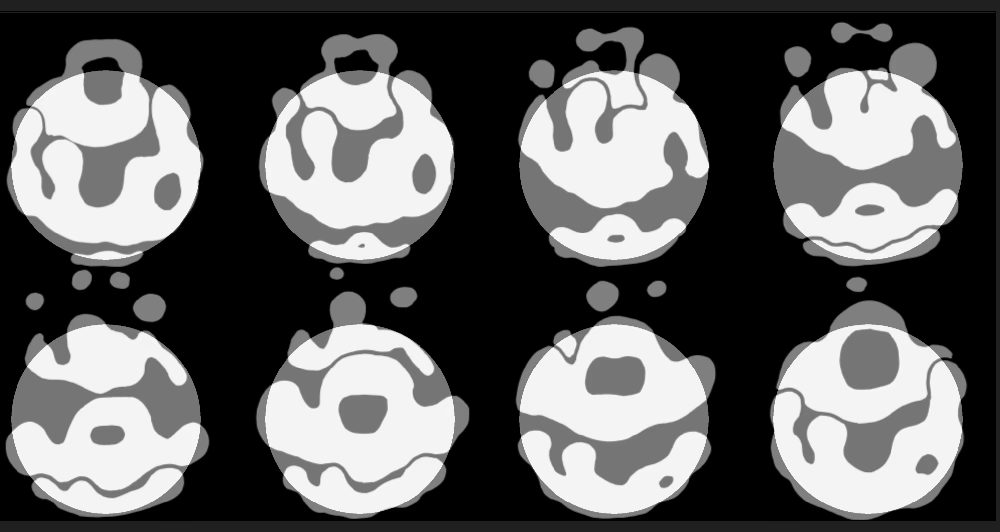
It then uses a Levels node to make the blend solid black and white.
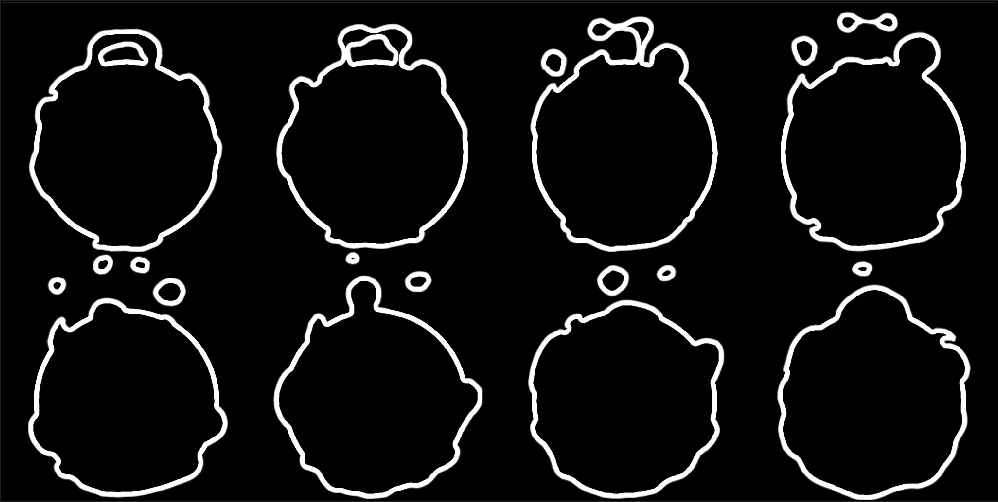
It uses a Shape Stroke node to generate the outlines.
Finally, everything is combined together using a RGBA Merge node.
The Final Channels
- The flipbook is stored in the R channel to be used a mask in the shader
- The base circle shape is stored in the G channel
- The outlines are stored in the B channel
- A solid white shape is used to set the A channel to 1
2D Toon Lit Shader in Unity
The primary purpose of the shader is to calculate the final color using faked lighting, created with the normal map we made earlier.
The vertex shader of the original shader file did handle the flipbook animation, but that’s not the focus of this article, so I’ll be skipping it.
The Fragment Shader Code
Here is the fragment shader of the 2D toon lit shader.
The comments in the code explain each step from loading the textures we created in the previous section to outputting the final color of the animation.
float4 frag (varyings i) : SV_Target
{
    // Read the texture we created in the previous section
    // using UV's that point to the current frame
    float4 col = tex2D(_MainTex, i.uv);
    // Separate the color channels into separate variables
    const float goo = col.r;
    const float circle = col.g;
    const float outline = col.b;
    // Add everything together here to use as a mask for the entire silhouette
    const float combinedShape = saturate((goo + circle + outline) * 2);
    // Get the part of the circle not covered by the goo animation
    const float visibleCircle = circle - goo;

    // Discard any fragment outside of the silhouette
    clip(combinedShape - _Cutoff);

    // Sample the normal map and get a vector of the normal direction
    float4 bump = tex2D(_BumpMap, i.uv);
    float3 normal = UnpackNormal(bump);
    // Convert light angle parameter from degrees to radians
    float angle = _LightAngle * UNITY_PI / 180;
    // Construct a global 2D light direction from that angle
    float2 lightDirection = normalize(float2(sin(angle), cos(angle)));
    // Convert this light direction to world space from object space
    // to make it independent of the sprite rotation
    float2 lightDirectionWS = mul(unity_ObjectToWorld, lightDirection);

    // Get a gradient to mimic lighting by getting the dot product
    // between the light and normal directions
    float NdotL = dot(normal.rg, lightDirectionWS);

    // Store the camera view direction
    float3 viewDir = normalize(i.viewDir);

    // Compute a lighting dot product using a Valve Half Life style half vector
    // for the specular highlight
    float2 halfVector = normalize(lightDirectionWS + viewDir.xy);
    float NdotH = dot(normal, halfVector);

    // Create a two stepped toon gradient
    // from the NdotL gradient with a smooth step
    float lightIntensity = smoothstep(0, 0.05, NdotL);

    // Using the NdotH, create a tightened specular highlight
    // which size is controlled by the Glossiness parameter
    // Additionally, NdotH is multiplied by lightIntensity
    // to ensure that the specular is only visible in the lit part of the shape
    float specularIntensity = pow(NdotH * lightIntensity,
                                  _Glossiness * _Glossiness);
    float specularIntensitySmooth = smoothstep(0.005, 0.01, specularIntensity);

    // To highlight the lit side even more,
    // create a 2D fresnel gradient around the edges of the shape
    float4 rimDot = 1 - dot(normal, half3(0, 0, 1));
    // Mask the rim highlight to only be visible on the lit part of the shape
    float rimIntensity = rimDot * pow(NdotL, _RimThreshold);
    // Create a two stepped toon gradient for the rim light
    rimIntensity = smoothstep(_RimAmount - 0.01,
                              _RimAmount + 0.01,
                              rimIntensity);

    // Now use all of our color parameters to construct the final object
    // _Color here is the lit side and _AmbientColor is the shadow side
    half4 color = lerp(_AmbientColor, _Color, lightIntensity) * goo;
    // Mix in the specular and rim light colors
    color = lerp(color, _SpecularColor, specularIntensitySmooth);
    color = lerp(color, _RimColor, rimIntensity);
    // Give the shape under the goo animation a color
    color = lerp(color, _CircleColor, saturate(visibleCircle));
    // Finally mix in the outline around the shape and return the final color
    color = lerp(color, _OutlineColor, outline);

    return half4(color.rgb, 1);
}
Viola
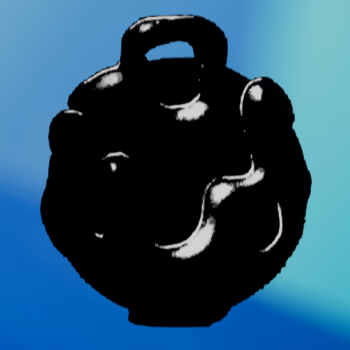
Here is our target final color output.
![]()
Here is the flipbook rotating where you can see the toon lighting more clearly.
Visual Step by Step of the Fragment Shader
If all that shader code is a load of nonsense to you, here is the same information, paired with images of the output of the shader at each step.
TIP: Click on images and use the arrow keys on your keyboard to quickly see the difference between each stage. Also Click Here to skip to the next section, if you want to skip over all this next part.
Step by Step
Read the texture we created in the previous section using UV’s that point to the current frame.
Separate the color channels into separate variables.
Add everything together here to use as a mask for the entire silhouette.
Discard any fragment outside of the silhouette.
![]()
Get the part of the circle not covered by the goo animation.
![]()
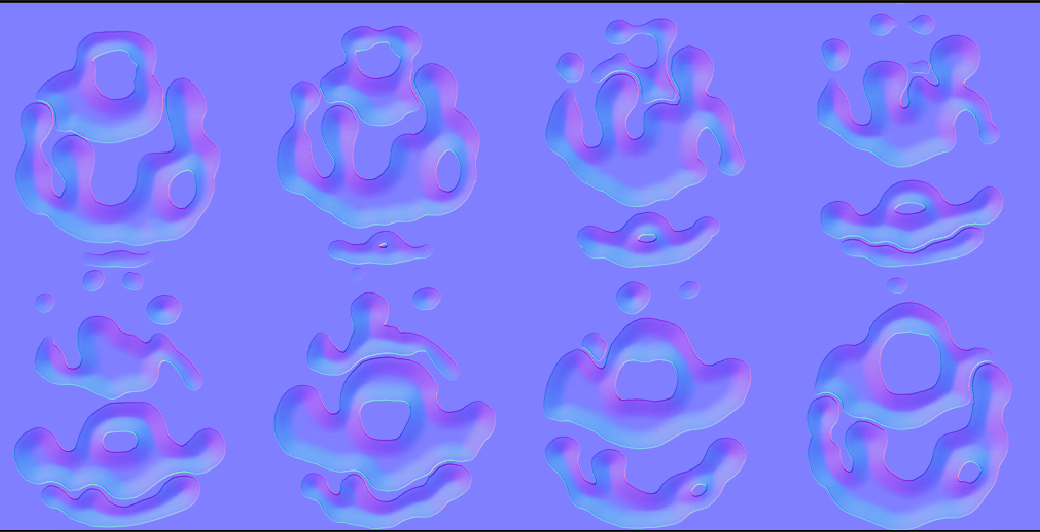
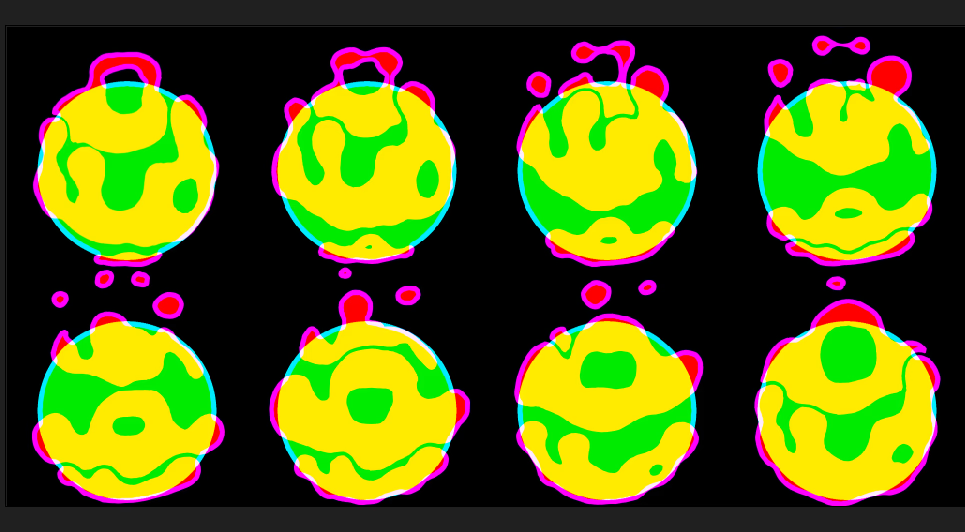
Sample the normal map and get a vector of the normal direction.
![]()
Convert light angle parameter from degrees to radians.
Construct a global 2D light direction from that angle.
Convert this light direction to world space from object space to make it independent of the sprite rotation.
Get a gradient to mimic lighting by getting the dot product between the light and normal directions.
![]()
Store the camera view direction.
Compute a lighting dot product using a Valve Half Life style half vector for the specular highlight.
![]()
Create a two stepped toon gradient from the NdotL gradient with a smooth step.
![]()
Using the NdotH, create a tightened specular highlight which size is controlled by the Glossiness parameter.
Additionally, NdotH is multiplied by lightIntensity to ensure that the specular is only visible in the lit part of the shape.
To highlight the lit side even more, create a 2D fresnel gradient around the edges of the shape.
![]()
Mask the rim highlight to only be visible on the lit part of the shape.
Create a two stepped toon gradient for the rim light.
![]()
Now use all of our color parameters to construct the final object.
_Color here is the lit side and _AmbientColor is the shadow side.
![]()
Mix in the specular.
![]()
and rim light colors.
![]()
Give the shape under the goo animation a color.
![]()
Finally mix in the outline around the shape and return the final color.
All Together
Now that we have the textures and shader all put together, time to animate!
Final Result
And here it is!
There are still parts of the overall effect that I would like to polish.
Namely the tweaking trail more, adding an launching or emission effect, and redoing the explosion animation (untouched from the original game jam version!).
But overall, the main piece is in a really good spot.
Outro
Thank you for reading!
If you have any questions, do ask! Find me at @iamhand on Mastodon.
Catch you next time.