Intro
Welcome to my first shader tutorial! One of my favorite effects in After Effects is the 4-Color Gradient. I like it so much I wanted to recreate in a shader.
The gradient is composed of four solid-color circles blended together, each with an effect point as its center.
The implementation I will show you is slightly different. The colors are centered at the four corners of a box and can’t be moved, something to revisit in a future post!
Let’s get to it then!
GLSL Example
Here is a live example of the shader written in GLSL.
Code
This shader uses UV coordinates to interpolate between the four colors we can choose. Here is the shader written in Unity3D’s HLSL:
Shader "Custom/Gradient"
{
    Properties
    {
        _Color1 ("Color1", Color) = (1,1,1,1)
        _Color2 ("Color2", Color) = (1,1,1,1)
        _Color3 ("Color3", Color) = (1,1,1,1)
        _Color4 ("Color4", Color) = (1,1,1,1)
        _MainTex ("Albedo (RGB)", 2D) = "white" {}
    }
    SubShader
    {
        Tags { "RenderType"="Opaque" }
        LOD 200

        CGPROGRAM
        #pragma surface surf Standard fullforwardshadows

        #pragma target 3.0

        #include "FourColorGradient.cginc"

        sampler2D _MainTex;

        struct Input
        {
            float2 uv_MainTex;
        };

        fixed4 _Color1;
        fixed4 _Color2;
        fixed4 _Color3;
        fixed4 _Color4;

        float3 FourColorGradient(float3 color1, float3 color2, float3 color3, float3 color4, float2 uv)
        {
            return lerp(lerp(color1, color2, uv.y),  lerp(color3, color4, uv.y), uv.x);
        }

        void surf (Input IN, inout SurfaceOutputStandard o)
        {
            fixed3 gradient = FourColorGradient(_Color1.rgb, _Color2.rgb, _Color3.rgb, _Color4.rgb, IN.uv_MainTex);
            o.Albedo = gradient;
        }
        ENDCG
    }
    FallBack "Diffuse"
}
Confused?
If all or some of this looks alien to you, I’d recommend checking out Ronja’s Shader Tutorials Basics, especially Textures.
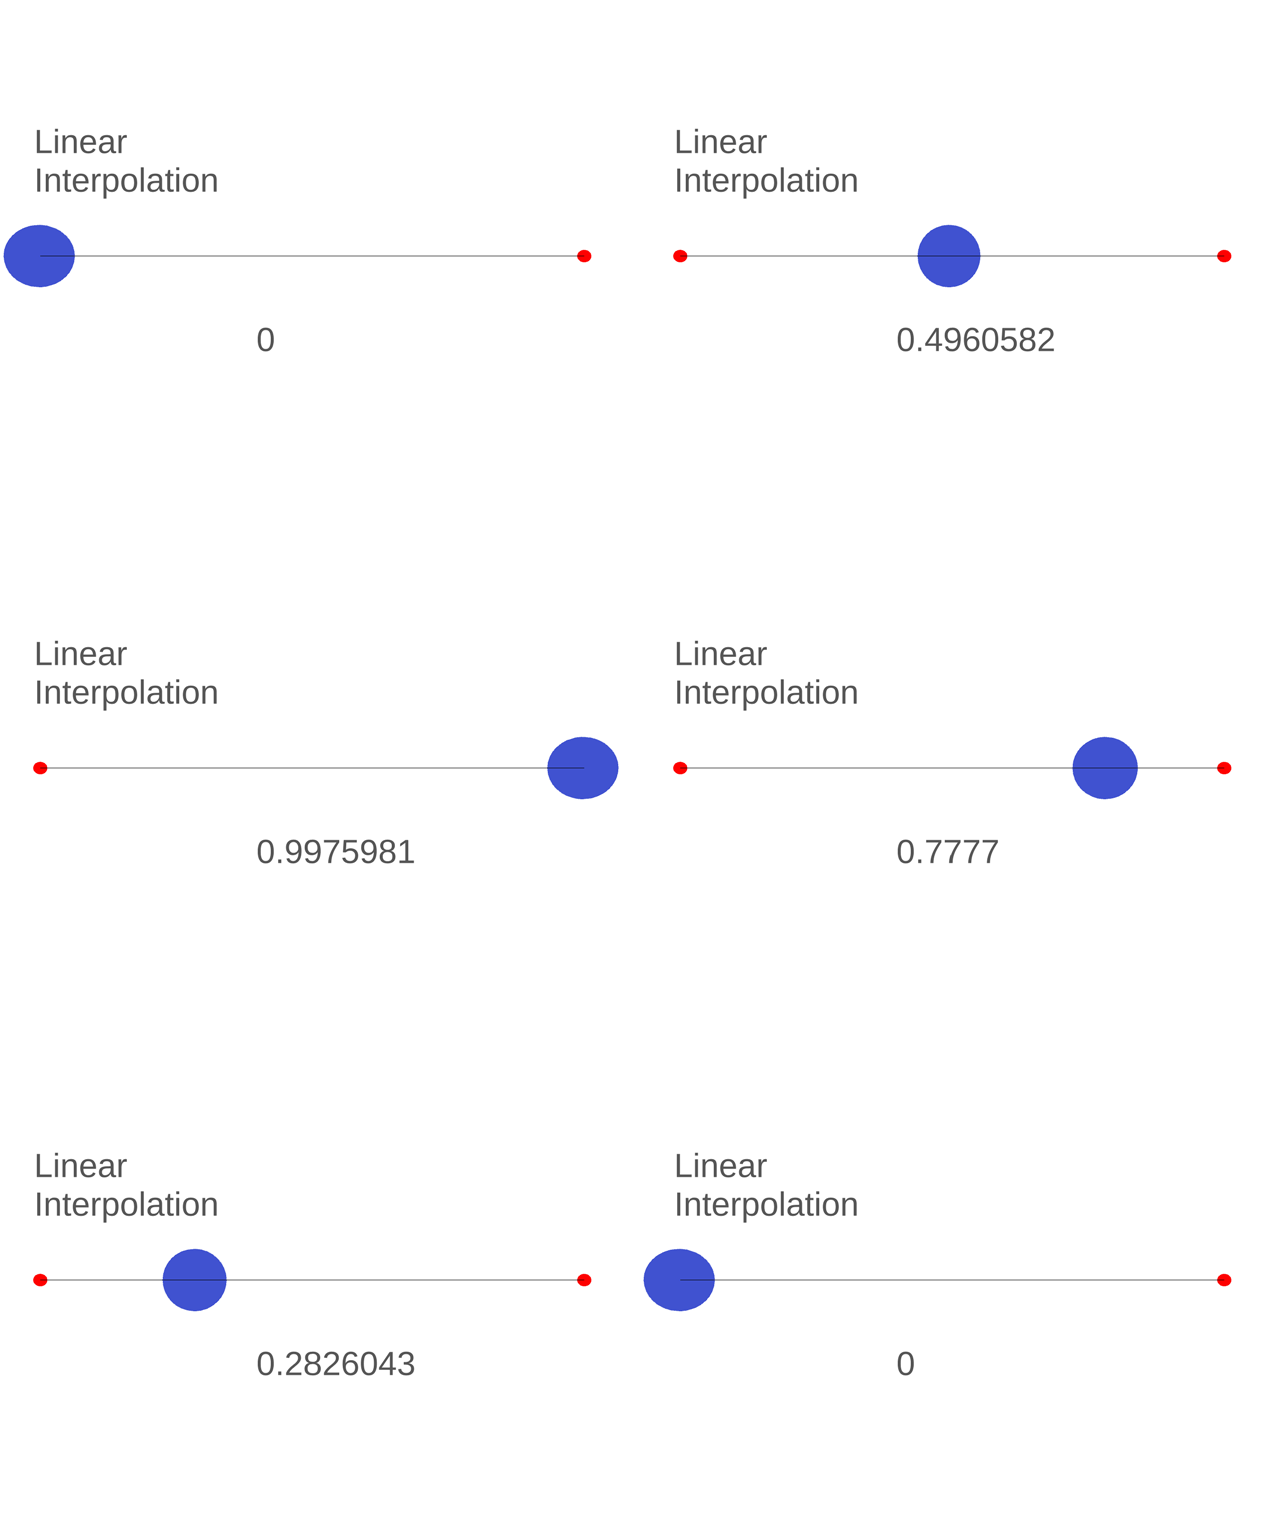
But what about that funny looking lerp word? That stands for Linear Interpolation.
Unity has a straightforward article that you can read here!
The part that pertains to us is this definition:
What Is Interpolation?
At its core, Interpolation is the act of creating new data between two values. In other words, allowing you to smoothly move from one number to another. In the animated examples you can see those values can be anything from Position, Visibility or Color.

Also, look at the HLSL documentation of lerp for the actual specifics of the version of lerp we use here.
Breakdown
UV coordinates are normalized, so the u-axis and v-axis both go from 0.0 to 1.0.
On a quad like the one I use in the following screens, the bottom left corner maps to the origin of UV coords (0.0, 0.0), but the top right corner maps to (1.0, 1.0).
In FourColorGradient(), we can take advantage of the 0.0 to 1.0 range and use one of the components as the interpolator parameter of the lerp function.
The First Gradient
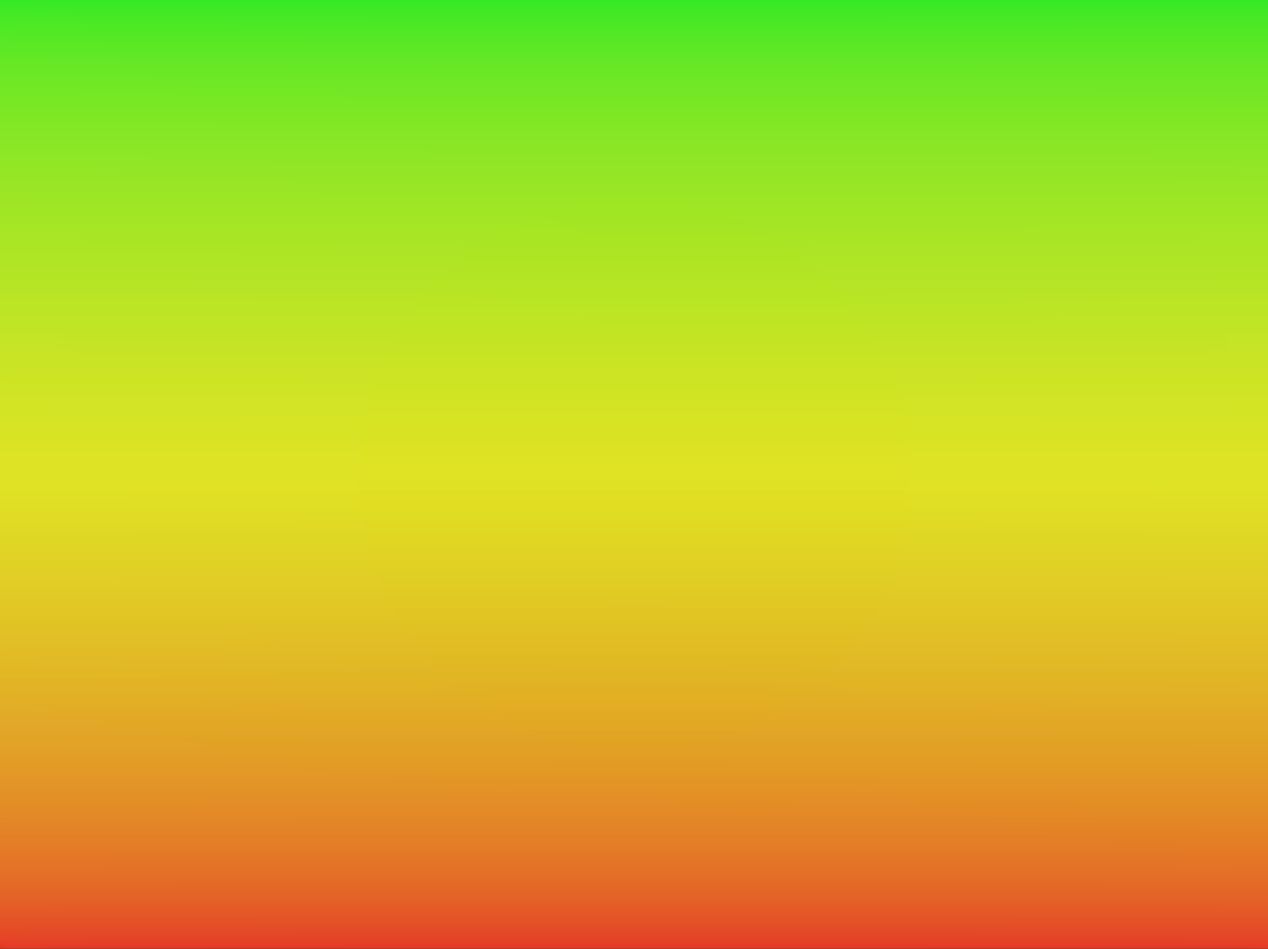
We can go from Color1 and Color2 along the v-axis vertically by lerping like this:
lerp(color1, color2, uv.y)Result

The Second Gradient
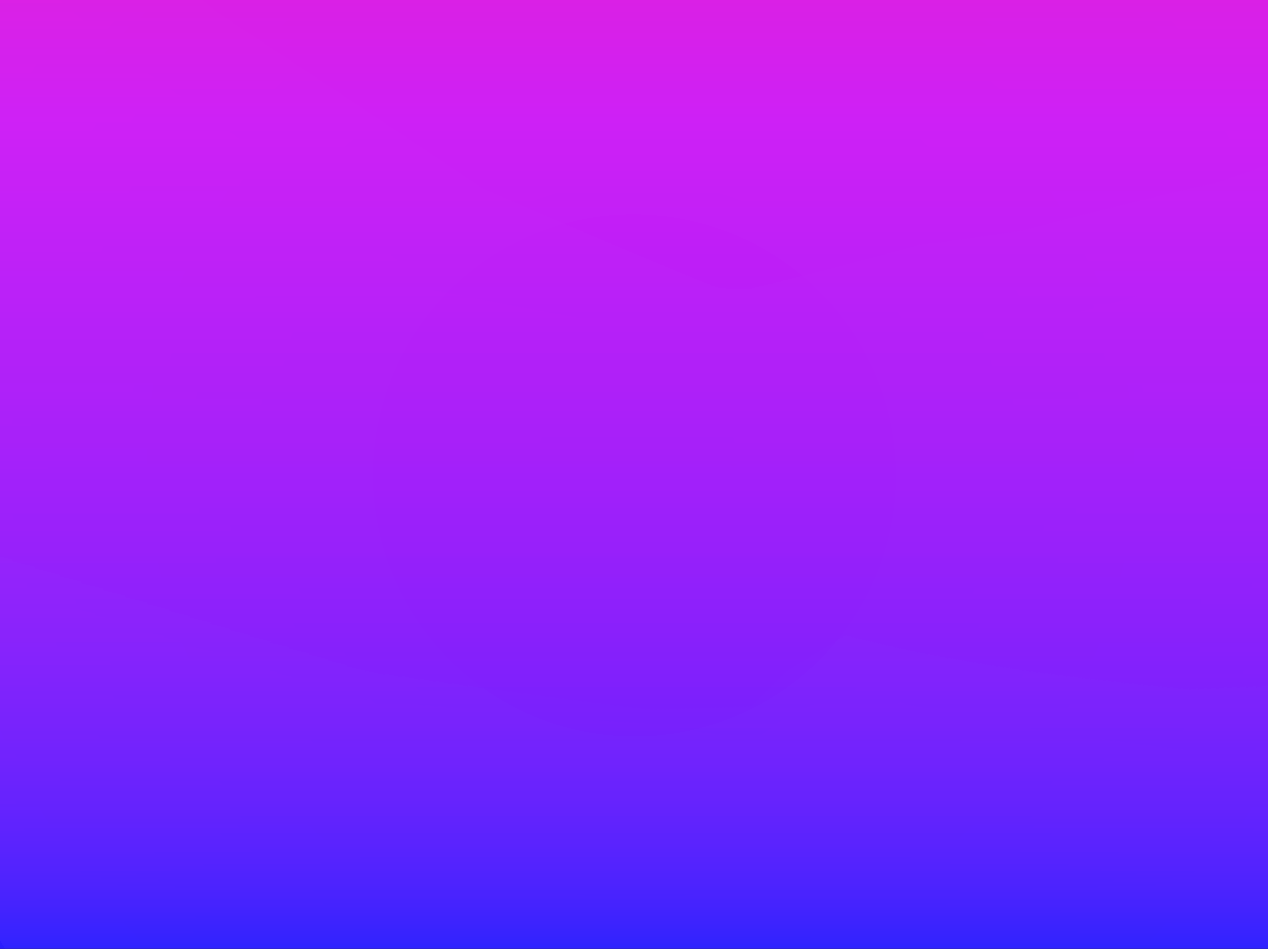
We are also going to go from Color3 to Color4 in the same way:
lerp(color3, color4, uv.y)Result

Bringing it all together
Time to bring it all together!
The two previous lerp function calls we made are outputting two new colors. So there is nothing stopping from lerping between these lerped colors like we did with Color1 and Color2, for example.
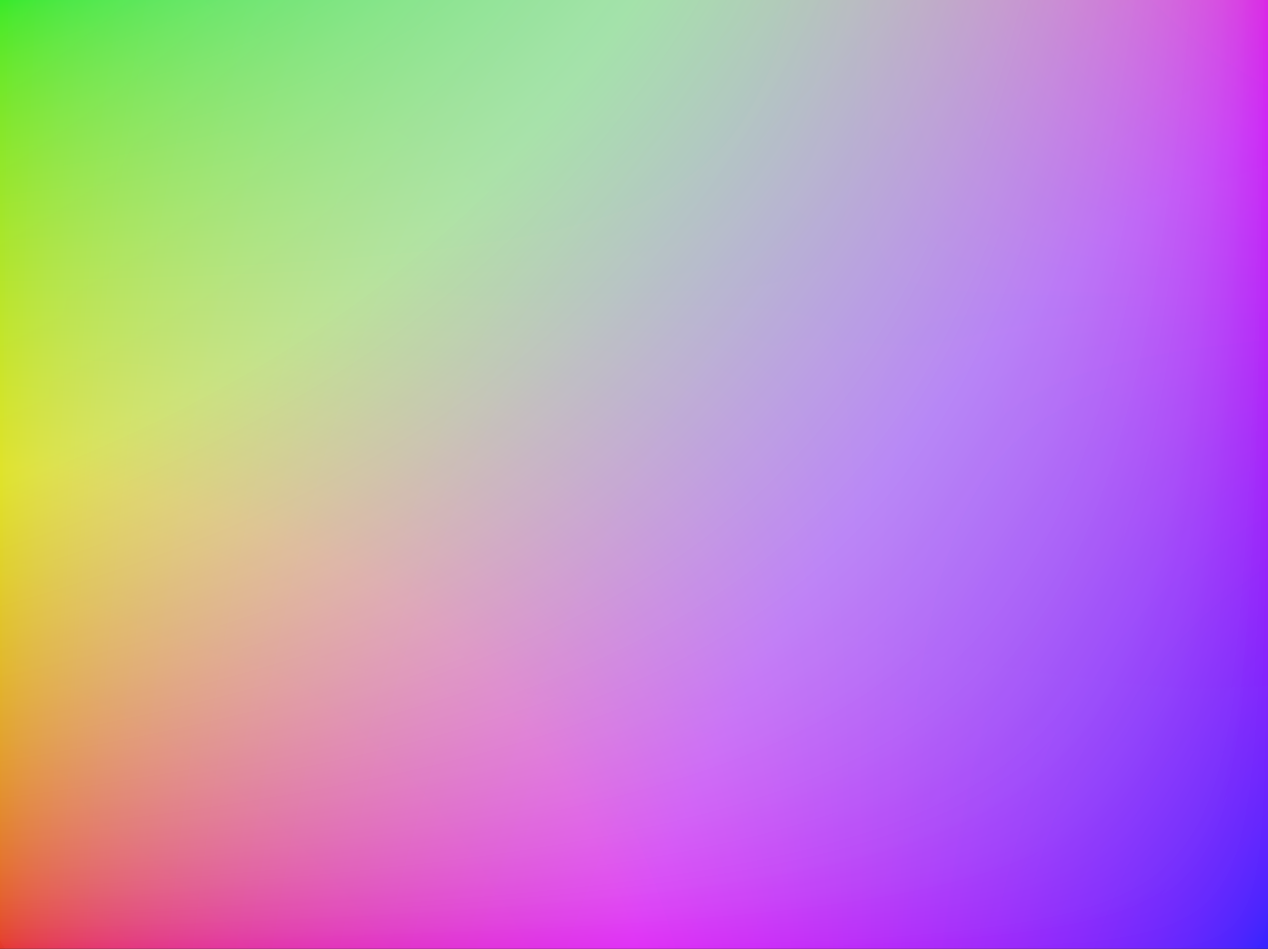
Next, we mix the two lerped colors together by going between them in the same way, but horizontally this time using the x component of the UV’s:
lerp(lerp(color1, color2, uv.y), lerp(color3, color4, uv.y), uv.x)Result

And that’s it!
Outro
Thank you for reading! Hopefully this shader and explanation were straight forward enough to understand easily.
If you have any questions, do ask! Find me at @MitchJMcClellan